Contract Deployment Using Vyper in Remix
For start with vyper we need to install Vyper
Installing Vyper
First, we need to install Vyper. To do that, we will need Python 3.6 or higher. You can download Python binaries from the Python website.
We’ll also need the pip package manager. To install it, we can use the following command:
sudo apt-get install python3-pip
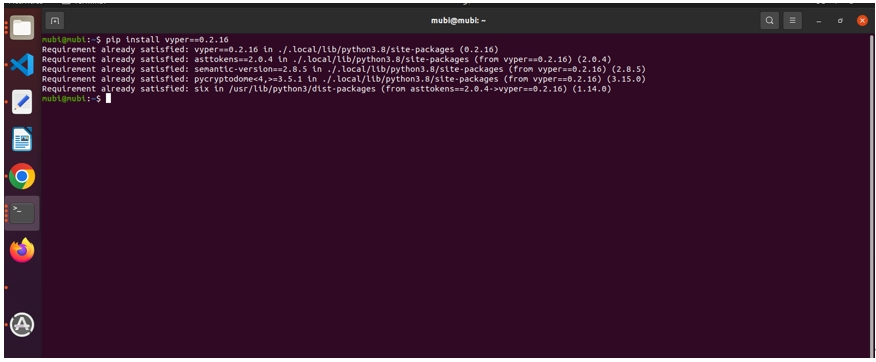
Next, we install Vyper using the pip command:
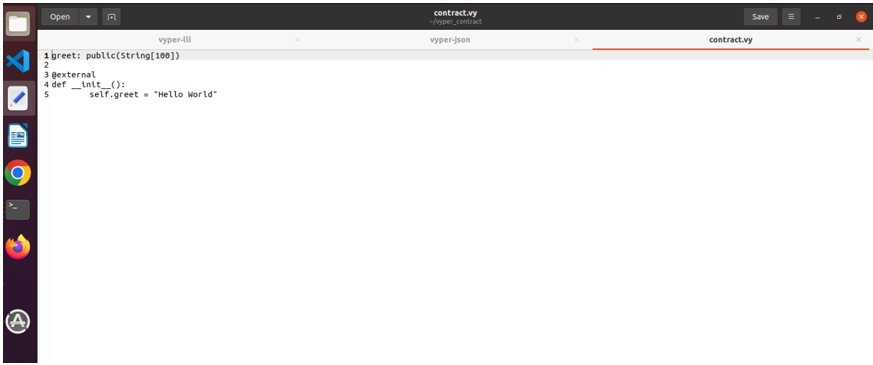
We will create a folder, vyper_contract, and a file, contract.vy, inside this folder.
Paste the below code in the contract.vy file:
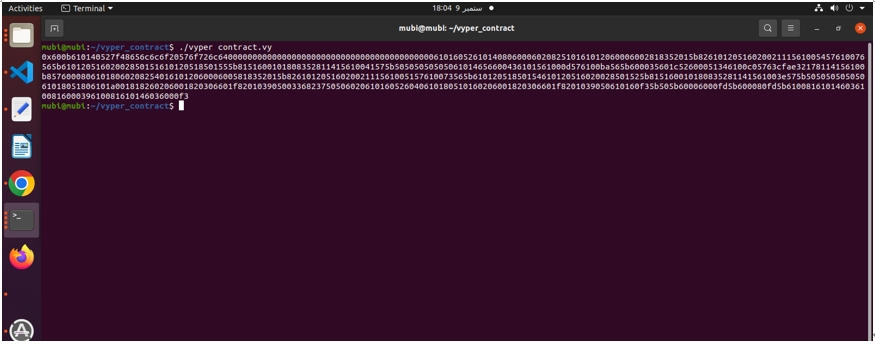
Compiling our smart contract
We’ll compile our smart contract using the vyper command:
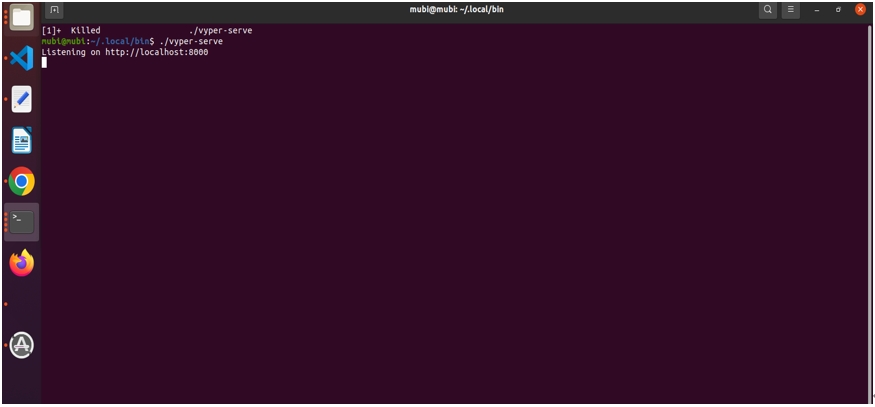
Next, run the Vyper server, vyper-server. This will start a server on http://localhost:8000; we’ll use this URL in Remix to compile locally and deploy.
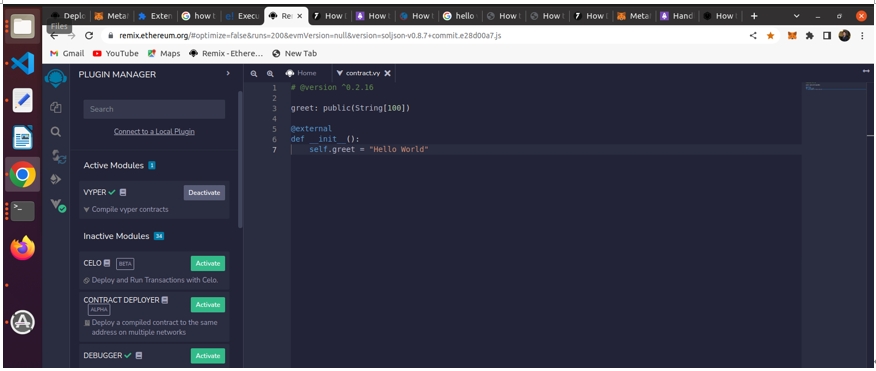
We will use the Remix IDE to compile our smart contract remotely and deploy it. Navigate to the Remix IDE, create a new file called contract.vy, and paste the above code into the file
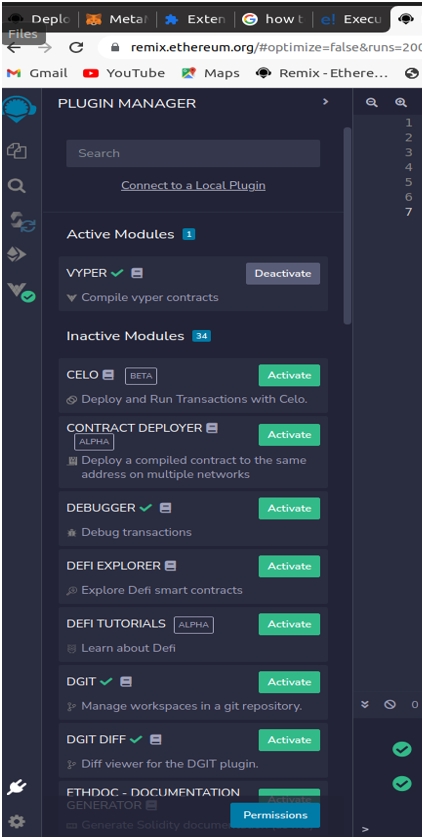
Next, we will install the Vyper plugin in our Remix IDE, click on the socket icon in the sidebar, and search for “vyper.”
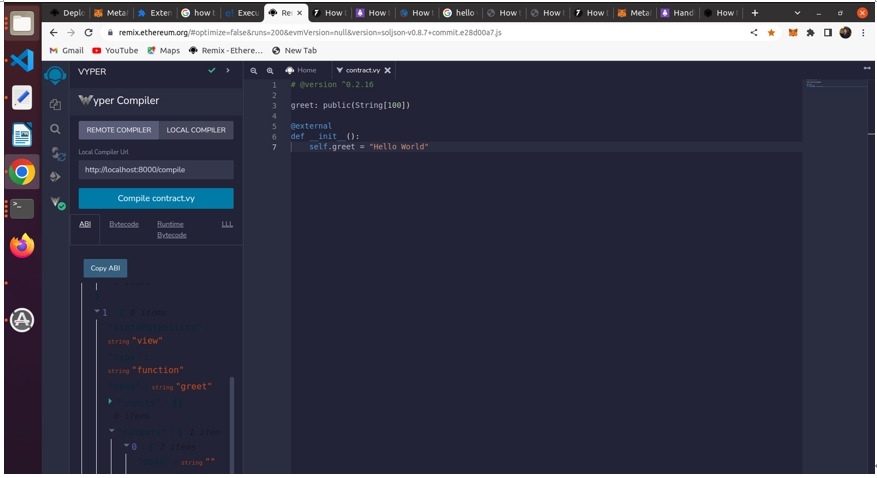
Click Activate on the item that appears. Then, click on the Vyper icon and press the Compile contract.vy button. You should see this:
Deploying our smart contract
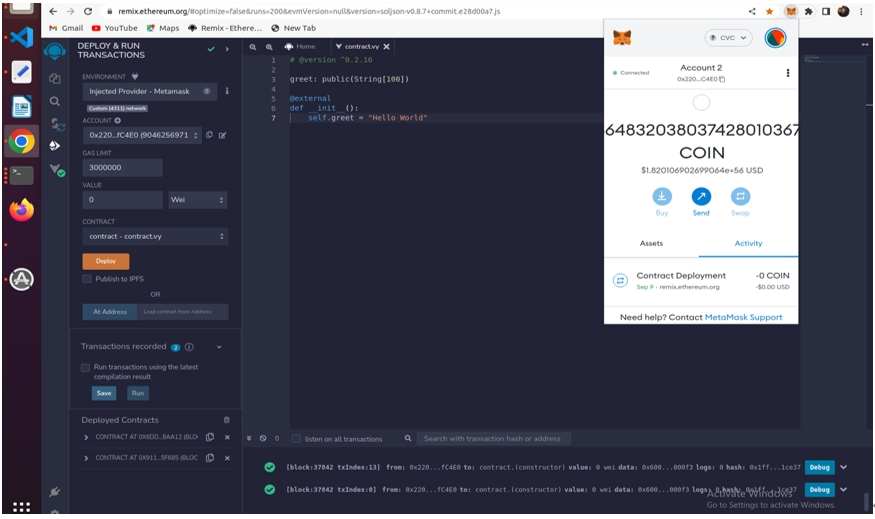
We’ll now deploy our smart contract.
Now check on CROSSVALUE Chain Network
Successfully Deploy Contract Using Vyper and Truffle.
Regards:
Advanced Blockchain Lab
Voting Blockchain team
Last updated